
Many of the users will certainly gone through such problems called DNS_PROBE_FINISHED no internet while the people are start browsing the for some information using web browser online. This error will appear for few times while the user was not gone through the check out the status of internet connection to their devices.
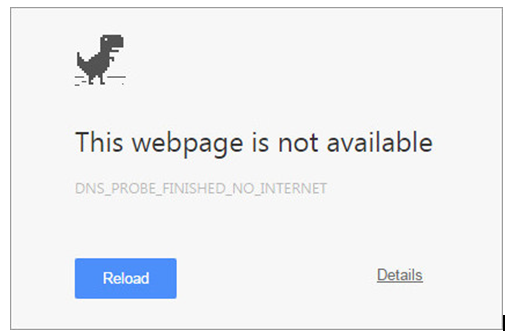
While the users saw the appearance of such error with programming code as DNS_PROBE_FINISHED_NO_INTERNET and the message will be given as this web page is not available then the user will usually get irritated. Same post also you can read on with more info.

Go through below methods and choose the best and easiest one among all as per your wish and convenience.
Method 1:
• Open Windows command prompt by going through start menu button.
• Type cmd in search box and press enter.
• Otherwise go with short key by pressing windows key plus R.
• Now command prompt will appear on the display.
•
• Type netsh winsock reset and press Enter.
• Restart the system and check out the status of error.
• Appeared results shows the problem was not yet fixed then make sure the request which has been given as input.
• Again enter ipconfig/release and proceed for next step by entering ipconfig/renew.
•
• Press Enter.
• Then DNS problem will get erased and again type ipconfig/flushdns and Press Enter.
•
• Restart the system and start with new session.
Method 2:
• Once the problem has been appeared on the screen then get into DNS server address.
• Make right click on user network tab by windows task bar.
• Now click on Network and sharing center.
•
• Then go through local area connection and click on properties.
• Choose Internet protocol version 4 and select Properties.
• In new tab, select radio button speak out use the following DNS server address.
• Type 208.67.222.222 in search box and also use the alternate code as 208.67.220.220.
•
• Then check out the validation settings and get into exit mode.
• Click OK and automatically session will close.
• Restart the computer and get into new session.
Method 3:
• Go through Chrome browser and select clearing cache to customize the options/.
• Go through customization and click on control button.
• Go with settings and scroll down and select show advanced settings.
• From Privacy section, choose clear browsing Data.
• By going through new window, check out cookies and plug in data.
• Go with cached images check out and clear the browsing Data.
• Restart the computer at last.
Method 4:
• This process is entirely belongs to re boot the system with power cycle router.
• First Reboot the router by going through router settings.
• Get access through the options and Enter below URL Address for various routers.
• Enter username and password to login as administrator.
http://192.168.0.1 for TP link
http://192.168.1.1 for Linksys and 3com
http://192.168.0.1 for D link
http://192.168.2.1 for Belkin
http://192.168.0.1 for Netgear
http://192.168.10.1 for Micromax
Then Reboot it and restart the system.
Method 5:
• Go with firewall from an specified block for security.
• Check firewall and internet security software settings.
• Check out causing issue and make it resolve.
• Do not get into malicious web site and restart the device.
• Now check out the error and go with new session.
Hope you will enjoy this guide thanks.